

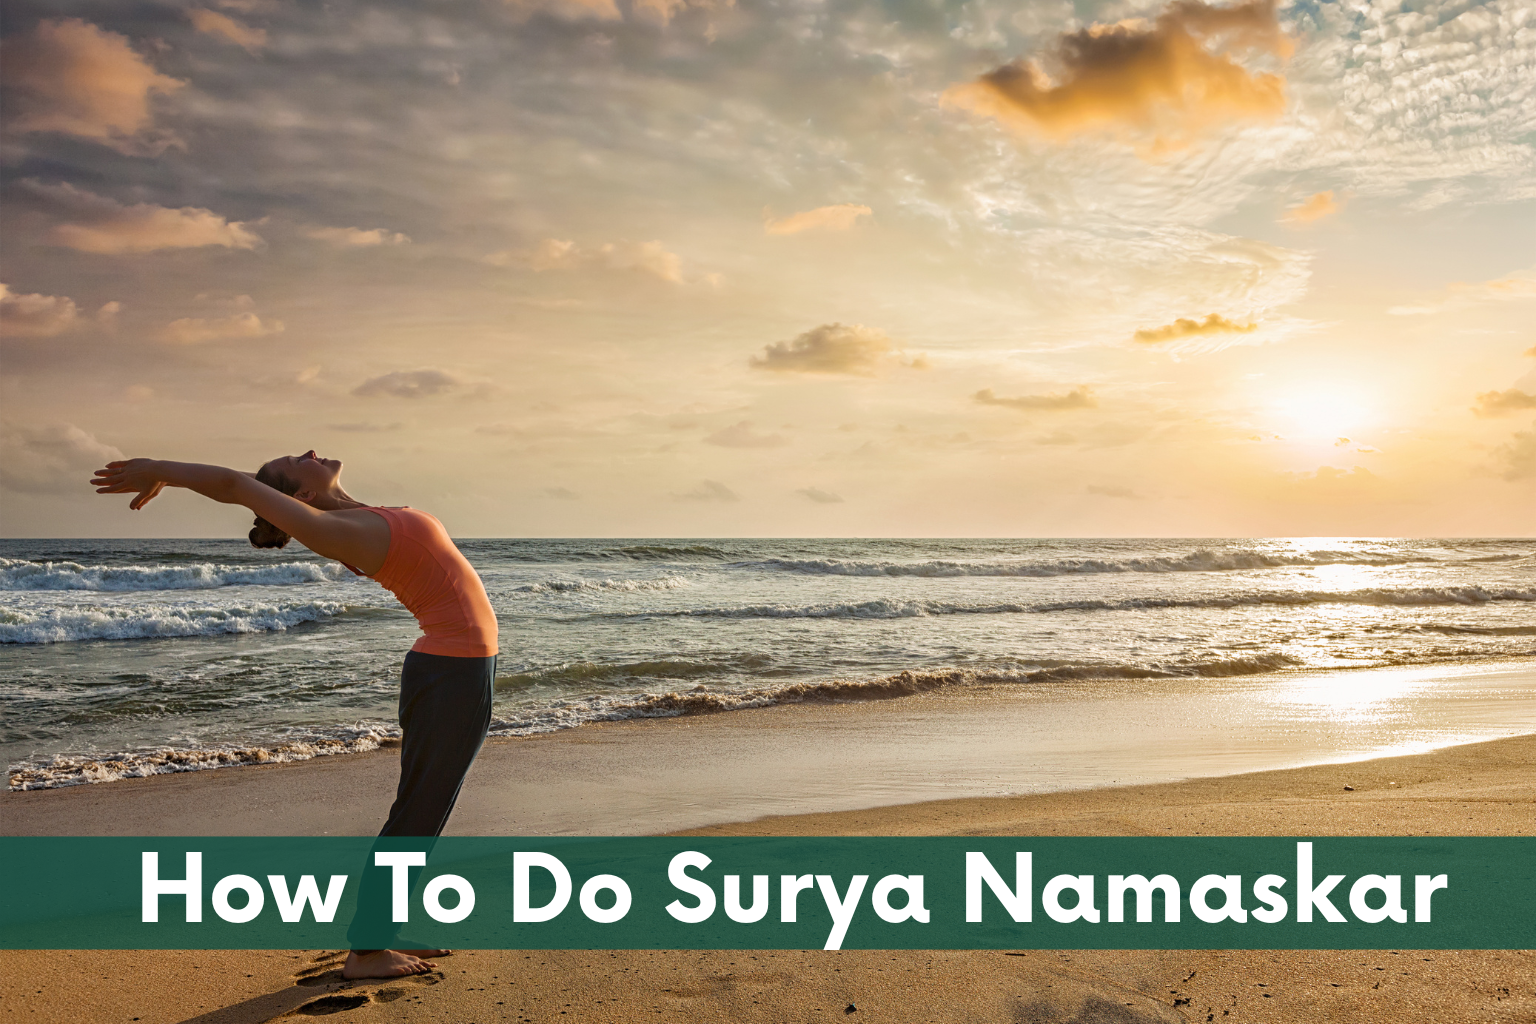
The Surya Namaskar sequence is a dynamic flow of 12 interconnected yoga poses that combines posture, breath, and rhythm into one complete practice. Each movement is performed in harmony with the breath, creating a balanced flow that enhances strength, flexibility, and mental focus. Rooted in ancient yogic tradition, the 12 Surya Namaskar steps symbolically represent the twelve phases of the sun, making the practice both physically energising and spiritually meaningful.
Below is a step-by-step guide to performing the 12 Surya Namaskar poses correctly:
Step 1. Pranamasana (Prayer pose)
Begin your Surya Namaskar by standing upright at the front of your yoga mat with your feet together and your weight evenly distributed on both feet. Keep your spine straight, gently lift your chest, and relax your shoulders. As you inhale, raise your arms smoothly from your sides. Then, as you exhale, bring your palms together in front of your chest in the traditional Namaste (prayer) position. Focus on your breathing, calm your mind, and prepare your body for the flowing sequence of Surya Namaskar poses. This grounding posture promotes balance, improves posture, and encourages mindfulness before beginning the practice.

Step 2. Hastauttanasana (Raised arms pose)
From Pranamasana, take a deep inhale and gently raise your arms overhead, keeping your biceps close to your ears. Stretch your entire body upward, lengthening from your heels to your fingertips while maintaining a straight spine. Slightly arch your upper back to open the chest without straining your lower back. This Surya Namaskar pose helps improve flexibility, strengthens the shoulders and back, expands the lungs, and enhances posture.
Tips for Proper Alignment:
- Keep your arms straight and close to your ears.
- Gently push your pelvis forward while engaging your core.
- Focus on reaching upward through your fingertips instead of bending excessively backward.
- Maintain slow, deep breathing throughout the pose for maximum benefit.

Step 3. Hastapadasana (Standing forward bend)
As you exhale, gently bend forward from your hips while keeping your spine as straight as possible. Lower your hands toward the floor and place your palms beside your feet, allowing your head and neck to relax naturally. This Surya Namaskar pose stretches the hamstrings, calves, hips, and lower back while improving flexibility, stimulating digestion, and increasing blood circulation to the brain.
Tips for Proper Alignment:
- Bend your knees slightly if you cannot comfortably place your palms on the floor.
- Gradually work toward straightening your legs without forcing the stretch.
- Keep your palms in place throughout the remaining Surya Namaskar sequence whenever possible.
- Breathe slowly and avoid rounding your back excessively to prevent strain.

Step 4. Ashwa Sanchalanasana (Equestrian pose)
From Hastapadasana, take a deep inhale and extend your right leg as far back as comfortably possible. Lower your right knee to the floor, keeping your left foot firmly placed between your palms. Lift your chest, lengthen your spine, and gently look upward. This Surya Namaskar pose stretches the hips, thighs, groin, and hip flexors while strengthening the legs, improving balance, and opening the chest for deeper breathing.
Tips for Proper Alignment:
- Ensure your left foot is positioned directly between your palms.
- Keep your left knee aligned above your ankle to avoid unnecessary strain.
- Lengthen your spine and keep your shoulders relaxed.
- Look forward or slightly upward without compressing your neck.
- Breathe deeply to enhance the stretch and maintain stability.

Step 5. Dandasana (Stick pose)
As you inhale, move your left leg back to meet your right leg, bringing your body into a straight line from your head to your heels. Keep your hands firmly planted on the mat directly beneath your shoulders, engage your core, and avoid letting your hips sag or lift too high. This Surya Namaskar pose strengthens the arms, shoulders, wrists, core, and legs while improving stability, posture, and overall body alignment.
Tips for Proper Alignment:
- Keep your arms perpendicular to the floor with your wrists directly below your shoulders.
- Engage your abdominal muscles to maintain a straight body line.
- Distribute your weight evenly between your hands and toes.
- Keep your neck neutral and look slightly ahead without straining.
- Maintain steady, controlled breathing throughout the pose.

Step 6. Ashtanga Namaskara (Salute with eight parts or points)
As you exhale, gently lower your knees to the floor. Shift your hips slightly backward, then glide your body forward, lowering your chest and chin to the mat while keeping your hips slightly raised. In this traditional Surya Namaskar pose, eight points of the body—the two hands, two feet, two knees, chest, and chin—touch the floor, symbolising a gesture of respect and surrender. This posture strengthens the arms, shoulders, chest, and upper back while improving flexibility, stability, and preparing the body for the next pose.
Tips for Proper Alignment:
- Keep your elbows close to your body.
- Allow your chest and chin to touch the mat while keeping your hips slightly elevated.
- Engage your core to maintain control and stability.
- Breathe steadily and move smoothly into the next Surya Namaskar posture.

Step 7. Bhujangasana (Cobra pose)
From Ashtanga Namaskara, gently slide your body forward and inhale as you lift your chest into Bhujangasana (Cobra Pose). Keep your palms firmly pressed into the mat beneath your shoulders, with your elbows slightly bent and close to your body. Relax your shoulders away from your ears, lengthen your spine, and gently lift your gaze toward the ceiling without straining your neck. This Surya Namaskar pose strengthens the spine, opens the chest, improves flexibility, and stimulates the abdominal organs.
Tips for Proper Alignment:
- Lift your chest using your back muscles rather than relying only on your arms.
- As you inhale, gently expand your chest forward; as you exhale, allow your navel to move closer to the mat.
- Keep your shoulders relaxed and away from your ears.
- Press the tops of your feet firmly into the floor and avoid forcing the backbend.
- Stretch only as far as your body feels comfortable while maintaining smooth, steady breathing.
Step 8. Adho Mukha Svanasana (Downward facing dog pose)
As you exhale, lift your hips and tailbone toward the ceiling, straightening your arms and legs to form an inverted “V” shape. Press your palms firmly into the mat, keep your head relaxed between your arms, and lengthen your spine. This Surya Namaskar pose stretches the hamstrings, calves, shoulders, and back while strengthening the arms, legs, and core. It also improves circulation, relieves tension, and promotes overall flexibility.
Tips for Proper Alignment:
- Keep your hands shoulder-width apart and your feet hip-width apart.
- Gently press your heels toward the floor without forcing them to touch.
- Lift your tailbone upward to lengthen your spine and deepen the stretch.
- Engage your core and distribute your weight evenly between your hands and feet.
- Breathe slowly and deeply while maintaining a comfortable stretch.
Step 9. Ashwa Sanchalanasana (Equestrian pose)
As you inhale, bring your right foot forward between your hands while lowering your left knee gently to the floor. Press your hips forward and downward, lift your chest, and look slightly upward, keeping your spine long and shoulders relaxed. This Surya Namaskar pose stretches the hip flexors, thighs, and groin while strengthening the legs, improving balance, and opening the chest for deeper breathing.
Tips for Proper Alignment:
- Position your right foot directly between your palms.
- Keep your right knee aligned above your ankle, with your right shin perpendicular to the floor.
- Gently lower your hips toward the mat to deepen the stretch without straining.
- Keep your shoulders relaxed and your chest lifted.
- Breathe deeply and maintain a steady, controlled posture before moving to the next Surya Namaskar step.
Step 10. Hastapadasana (Standing forward bend)
As you exhale, bring your left foot forward to meet your right foot, returning to Hastapadasana (Standing Forward Bend). Keep your palms on the floor beside your feet if possible, allowing your head and neck to relax naturally. This Surya Namaskar pose stretches the hamstrings, calves, hips, and lower back while improving flexibility, stimulating digestion, and enhancing blood circulation.
Tips for Proper Alignment:
- Bend your knees slightly if you cannot comfortably place your palms on the floor.
- Gradually straighten your legs without forcing the stretch.
- Keep your abdomen close to your thighs and, if comfortable, gently bring your nose toward your knees.
- Maintain slow, steady breathing and avoid rounding your back excessively.
- Focus on lengthening your spine while relaxing into the pose.
Step 11. Hastauttanasana (Raised arms pose)
As you inhale, slowly roll your spine upward and raise your arms overhead, returning to Hastauttanasana (Raised Arms Pose). Keep your biceps close to your ears, lift your chest, and gently arch your upper back while slightly pressing your hips forward. Focus on lengthening your entire body from your feet to your fingertips rather than creating a deep backbend. This Surya Namaskar pose improves spinal flexibility, opens the chest, strengthens the shoulders, and enhances posture.
Tips for Proper Alignment:
- Keep your biceps beside your ears throughout the pose.
- Engage your core to support your lower back.
- Stretch upward through your fingertips before gently arching backward.
- Avoid overextending your lower back or forcing the movement.
- Maintain slow, deep breathing to maximise the benefits of the stretch.
Step 12. Tadasana (Mountain Pose)
As you exhale, slowly return to an upright position by straightening your spine and gently lowering your arms to your sides, coming into Tadasana (Mountain Pose). Stand tall with your feet together, shoulders relaxed, and weight evenly distributed on both feet. Take a few slow, deep breaths and observe the sensations throughout your body, allowing your heart rate and breathing to return to normal. This final Surya Namaskar pose promotes balance, improves posture, and encourages mindfulness and relaxation.
Tips for Proper Alignment:
- Keep your spine straight and your shoulders relaxed.
- Distribute your weight evenly across both feet.
- Maintain slow, controlled breathing while relaxing your body.
- Stay present and notice the calming effects of the completed sequence.
This completes one half-round of Surya Namaskar. To finish a full round, repeat all 12 Surya Namaskar steps, this time stepping the left leg back in Step 4 and bringing the left foot forward in Step 9. Alternating the leading leg ensures balanced flexibility, strength, and coordination on both sides of the body.

Amantrhit Wellness Retreat Center
Amantrhit is an ISO and Yoga Alliance certified wellness retreat center in Rishikesh, offering Ayurveda, yoga, meditation, Panchakarma, weight loss retreats & other holistic healing programs. Amantrhit is a 5-star rated retreat center with several years of wellness experience, 100+ happy Guests, and 1000+ trusted wellness seekers worldwide. Whether you want to relax, heal, detox, or reconnect with yourself, Amantrhit provides a peaceful and supportive space to begin your wellness journey. Our experienced doctors and certified therapists guide guests. we also serve organic sattvik meals and serene surroundings restore balance to body, mind, and spirit. Come as you are, and leave feeling lighter, clearer, and deeply restored.


Leave a Reply